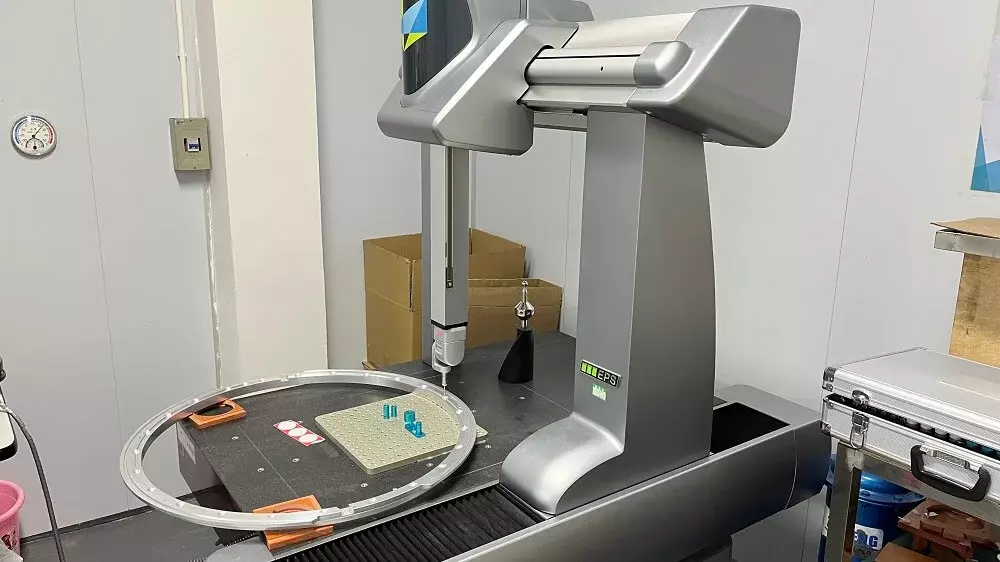
CNC Machined Parts Quality Control and Acceptance Guide
In the procurement and machining of mechanical parts, the quality of the components directly determines the performance, reliability, and service life of the final product. For customers, understanding the key inspection points of machined parts not only ensures that received parts meet design requirements but also effectively reduces rework, production delays, and cost risks. This article provides a comprehensive guide to inspecting CNC machined parts from four key aspects: appearance, dimensions, tolerances, materials, and functionality, along with practical inspection processes and precautions.
Ⅰ. Appearance Inspection
Appearance is the most direct reflection of the quality of machined parts and serves as an important reference for evaluating machining skill and process quality. A good appearance not only reflects precision and craftsmanship but also directly affects assembly ease and the overall aesthetic of the product. When inspecting parts, customers should focus on the following aspects:
1. Surface Quality
- Surfaces should be smooth and even, free from scratches, burrs, flash, pores, cracks, or other defects. Machining patterns should be uniform, and cutting marks should not be too deep or irregular.
- Surface roughness (Ra value): Surface roughness is a key indicator of machining quality, directly affecting friction, wear resistance, and assembly fit. For example, high-precision mating parts with inadequate surface roughness may result in assembly difficulties or unstable operation.
- Local defects: For wear-prone or load-bearing areas, carefully check for micro-cracks or pores, as these defects may expand during use and reduce part lifespan.
2. Machining Marks
- Check the depth and uniformity of tool marks. Excessive or uneven marks can lead to stress concentration, increasing the risk of cracking or deformation.
- Surface treatment inspection: For parts with anodizing, coating, or plating, ensure the coating is uniform, without peeling, bubbles, or color variations.
- Edges and transition surfaces: Chamfers, hole edges, and transitions should be smooth, free of burrs or sharp corners to prevent interference or damage during assembly or use.
3. Color and Markings
- Color consistency: Coated or anodized parts should have a uniform color with no visible variations, ensuring a consistent overall appearance.
- Clear markings: Part numbers, engravings, or labels should be legible and correctly positioned for traceability and batch management.
- Functional markings: If parts have functional indicators (e.g., axis orientation, rotation direction, assembly position), they must be correct to avoid assembly errors.

Previous: No More
